Getting Started
First launch, creating your identity and workspace, and finding your way around.
First Launch
When you launch Krillnotes for the first time, the Identity Manager opens automatically. Before you can create or open any workspace, you need an identity.
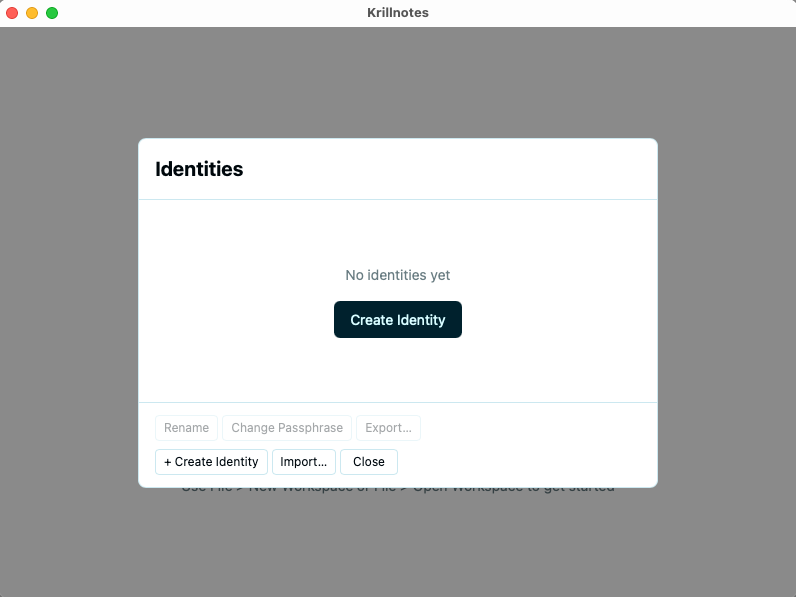
An identity is a cryptographic keypair that represents you. It signs your changes, encrypts your data, and binds workspaces to their owner. You can learn more in Identity & Contacts, but for now you just need to create one.
Creating your first identity
Click Create Identity and enter:
- Display name — a label for this identity (e.g. your name or a role like “Work”)
- Passphrase — protects your identity’s private key on disk
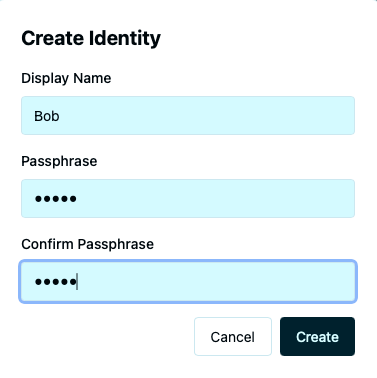
Click Create. Your identity is now unlocked and ready to use. You can close the Identity Manager.
Workspaces
A workspace is an encrypted database that holds all your notes, scripts, and attachments. You can have as many workspaces as you like and open multiple at once, each in its own window.
Every workspace is bound to an identity. The workspace’s encryption key is generated automatically and protected by your identity — you don’t need to set a separate password.
Creating a New Workspace
Go to File → New Workspace (⌘N on macOS, Ctrl+N on Windows/Linux).
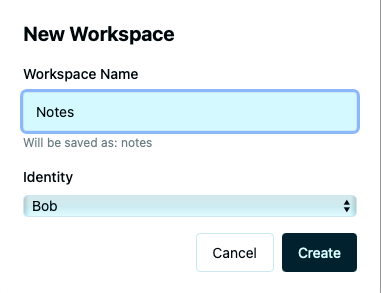
Enter a name for the workspace and select which identity should own it (if you have more than one). Click Create. The workspace opens in a new window.
Opening an Existing Workspace
Go to File → Open Workspace (⌘O) to see the workspace manager.
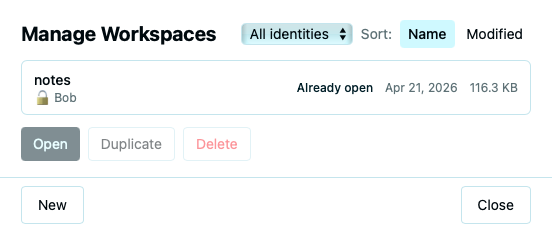
The workspace manager lists all your workspaces with:
- Name — the workspace title
- Size — file size on disk
- Notes — total number of notes
- Attachments — total number of file attachments
- Last Modified — when the workspace was last changed
You can also Duplicate a workspace (creates an exact copy) or Delete it from this dialog.
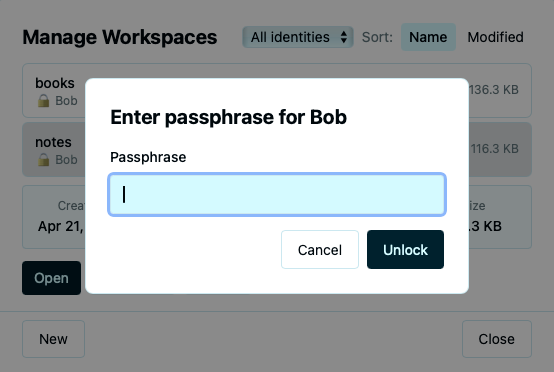
If the workspace’s identity is locked, you’ll be prompted for the identity passphrase before the workspace opens.
The Main Window
Once a workspace is open, the main window has two panels: the note tree on the left and the detail panel on the right.
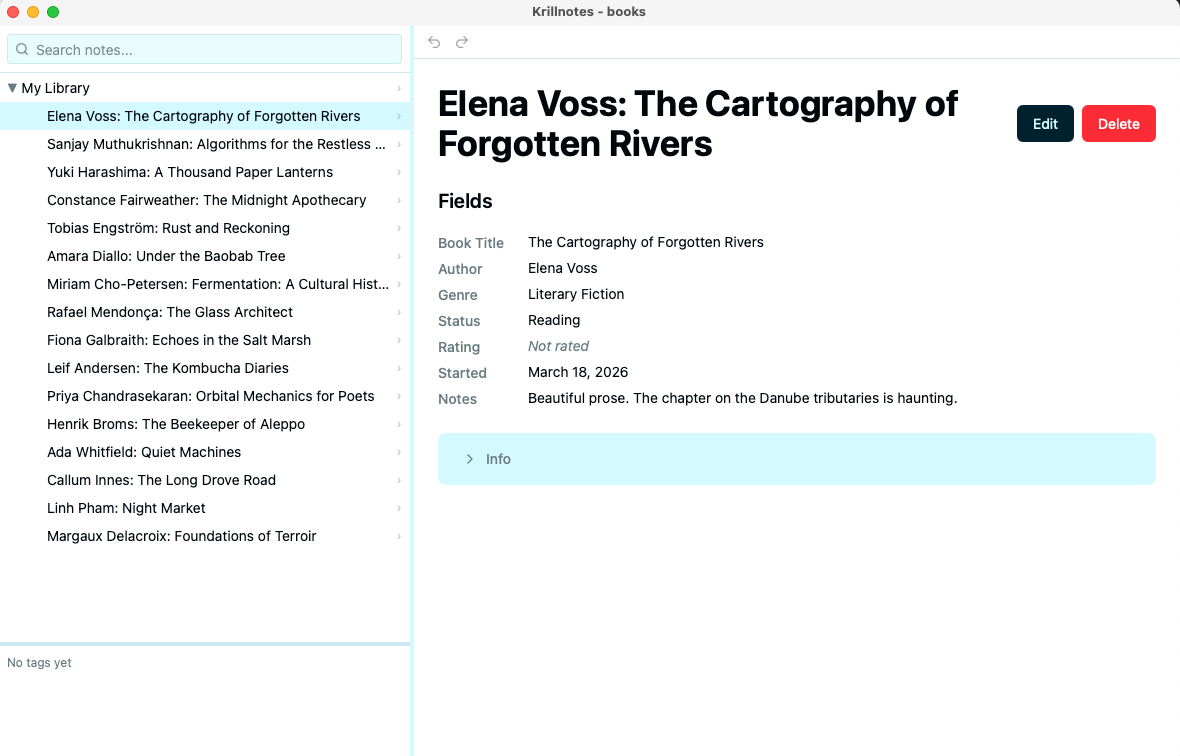
- Tree panel (left) — the full hierarchy of all notes in the workspace. Click any note to select it; the detail panel updates immediately.
- Detail panel (right) — shows the selected note’s content. What you see depends on the note’s type, which is defined by a script.
- Search bar — at the top of the tree panel. Type to find notes by title or field content.
- Tag cloud — at the bottom of the tree panel. Shows all tags used in the workspace.
You can drag the divider between the two panels to resize them.