Working with Notes
Creating, editing, deleting, and organising notes in the tree.
Adding Notes
Right-click any note in the tree to open the context menu.

- Add Child — creates a new note nested one level deeper, inside the selected note.
- Add Sibling — creates a new note at the same level, directly below the selected note.
You can also use Edit → Add Note (⌘⇧N) to add a child to the currently selected note.
Choosing a note type
Choosing Add Child or Add Sibling opens the Add Note dialog. Select the Note Type from the dropdown and click Create.
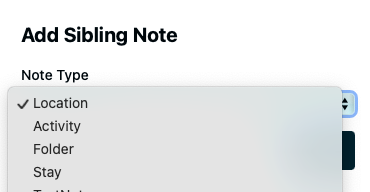
The available types depend on which scripts are installed in the workspace. The built-in TextNote is always available. See Scripts & Note Types for how to add more types.
Viewing and Editing
Click any note in the tree to view it. The detail panel shows its content in view mode — fields are rendered read-only, Markdown is formatted, and any custom views defined by scripts appear as tabs.
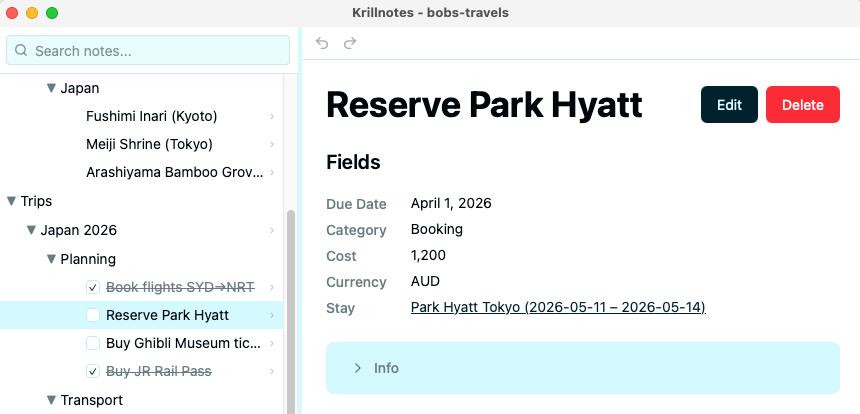
Click the Edit button (or choose Edit from the context menu) to switch to edit mode, where all fields become editable inputs.
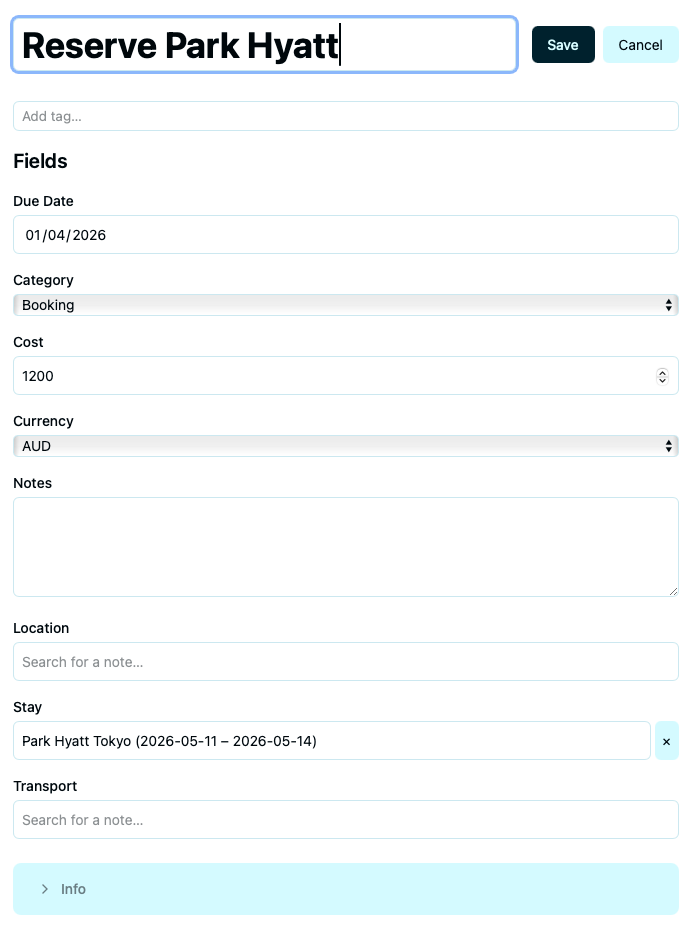
Click Save to commit your changes, or Cancel to discard them.
Deleting Notes
Select a note and press ⌘⌫ (or right-click → Delete) to delete it. The delete confirmation dialog offers two strategies:
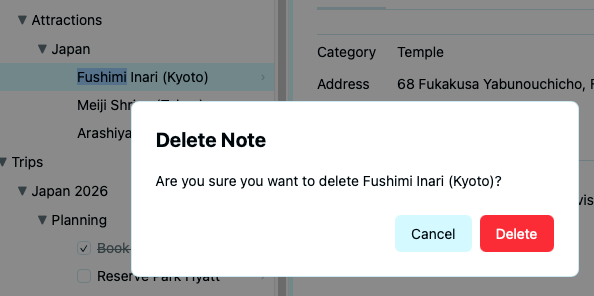
- Delete All — removes the note and all of its descendants permanently.
- Promote Children — removes only the selected note. Its children are moved up to take its place in the tree.
Drag-and-Drop Reordering
Drag any note in the tree to move it. A blue indicator line shows where it will be dropped:
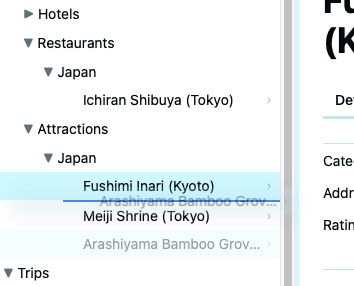
- Drop above or below a note to reorder it as a sibling.
- Drop onto a note to make it a child.
Copy and Paste
Right-click a note and choose Copy Note to copy it (including the full subtree of descendants). Then right-click the target and choose:
- Paste as Child — pastes the copied note as a child of the target.
- Paste as Sibling — pastes the copied note directly below the target at the same level.
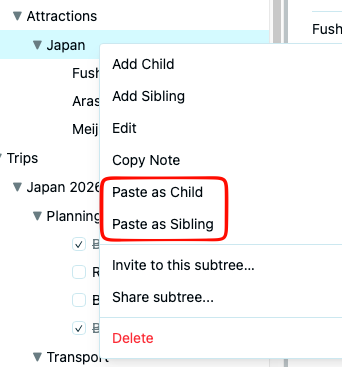
These are also available in the Edit menu.
Keyboard Navigation
| Key | Action |
|---|---|
↑ / ↓ | Move between notes |
→ | Expand selected note |
← | Collapse selected note |
Enter | Begin editing the selected note |

Script-Defined Menu Actions
Scripts can extend the right-click context menu with custom actions for specific note types. These appear in the context menu alongside the standard items.

For example, a Library script might add sort actions — Sort by Title, Sort by Author, Sort by Rating — that reorder the note’s children. What actions are available depends entirely on the scripts installed in the workspace.